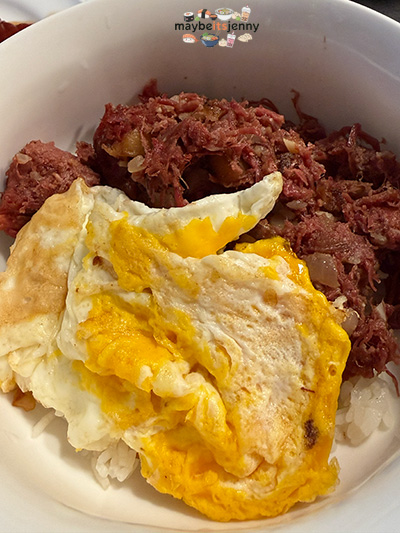
Oh yes, another TikTok recipe. You know it!! I saw it and just couldn’t get it off my mind. I knew I was going to Sam’s Club for a run so I could buy a few cans of the Palm Corned Beef. This is basically homemade corned beef hash and it takes so much time and effort. I just asked Chan if he felt like it was worth all the hassle, he said it liked it! He said we should try to make our own corned beef next time to really make it homemade. I told him he can make the meat and I can do the rest. My favorite is the garlic rice because of course it is.
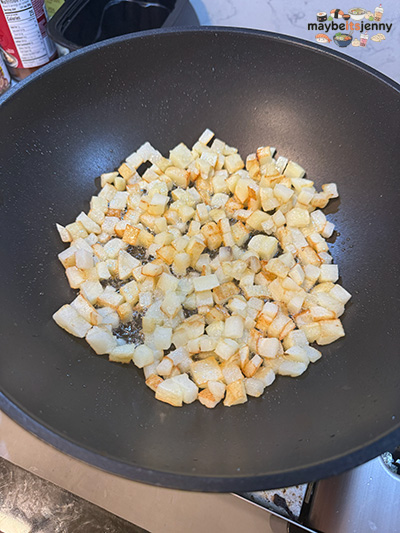
Diced Potatoes frying up…
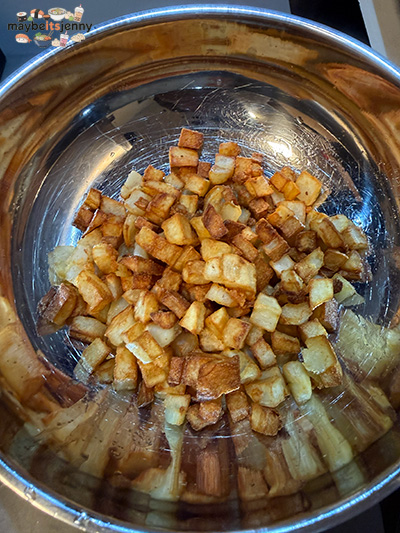
Yeah so it takes quite a while to get browned since I just do some shallow frying. Also…it goes back into the corned beef after and loses the crispiness anyway so is it worth it? Idk man. I’m sure it does add a nice crunch to the dish when you have it fresh!
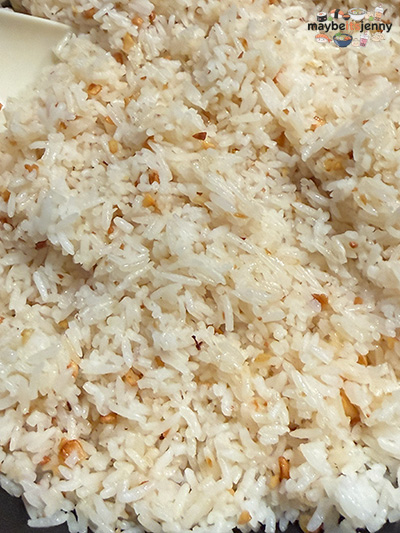
Garlic Rice
I didn’t burn it this time! I fried up the minced garlic in butter and oil on a medium-low heat. You gotta be patient with this, because it’s going to look so white for the longest time but it will brown eventually. Mm…and so well with some nice jasmine rice. Delicious!
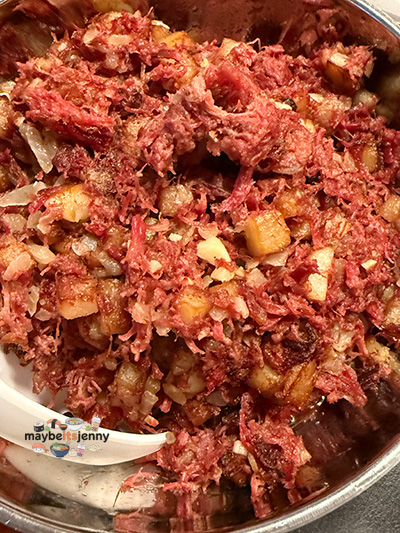
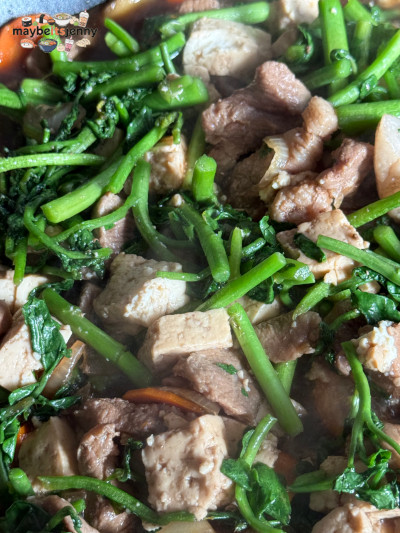
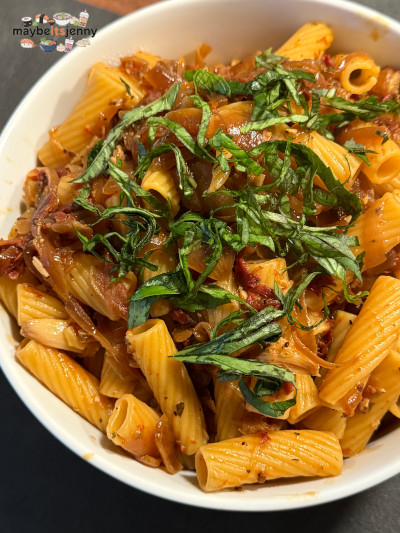
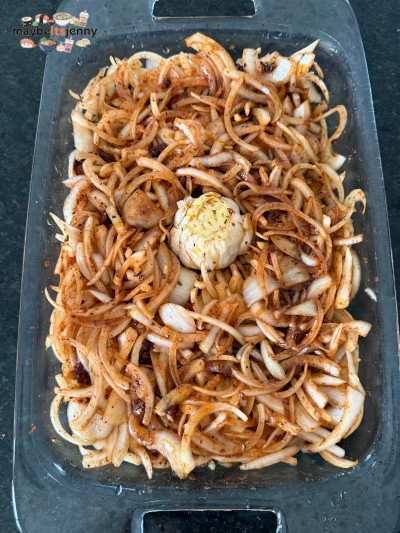
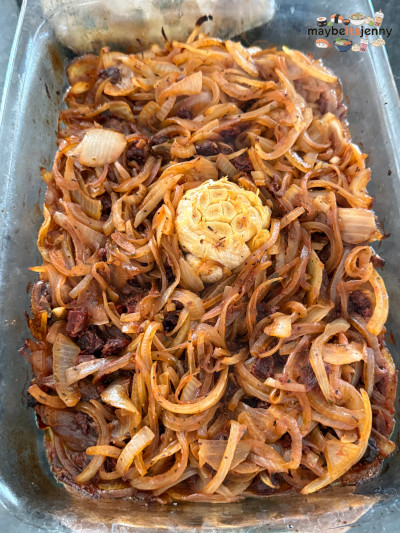
Here’s the corned beef with the potatoes, garlic and onions stir-fried together! Mmm…
Recipe Credit: derekkchen (instagram)


