I try my best to meal prep every weekend so that I have lunch for the week. It’s not always easy but hopefully it keeps me eating a little healthier and helps me save money. I follow Haruma Recipe on YouTube and have made a few of his recipes, he makes some really good dishes – just simple Japanese dishes. This one couldn’t be simpler, I had to try it! It doesn’t even ask for minced garlic, no real chopping needed. I don’t know about you folks, but I have always bought fresh garlic and peel and mince it myself. I would never use the “jarlic” but I am seriously considering buying the pre-peeled garlic and one of those garlic crushers – I think it would make me a much happier person lol. I’ll keep you folks posted.

Junkest part is cutting up raw chicken breast and seasoning it, I don’t love handling raw chicken. He is genius, he cuts up a milk carton, cleans it and lays it flat on his cutting board to cut up the chicken. You gotta watch his video, I’ll link it below.

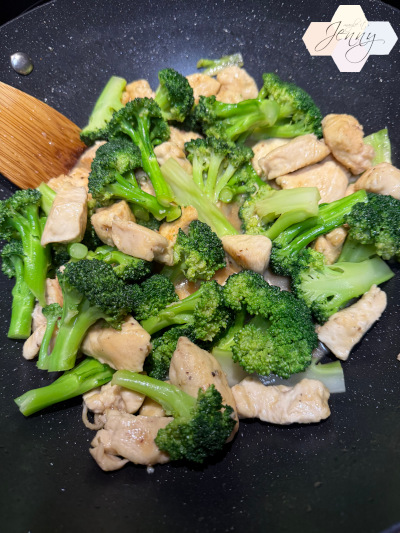
A simple miso sauce, broccoli and chicken breast and you’ve got a dish! So easy. I taste tested it, not bad! Nothing crazy delicious or fancy, just a good simple dish you know?
Taste of Japan: Umami-Packed Miso Chicken and Broccoli Stir-fry Recipe
[Ingredients / 1-2 servings]
- 250-300g Broccoli
- 300g Chicken breast
[Seasoning / Miso sauce]
・25g Miso
・10g Soy sauce
・18g Cooking Sake
・12g Sugar
[Toppings etc.]
・Black pepper
Recipe Source: [Haruma Recipe]Japanese Food Recipes in English