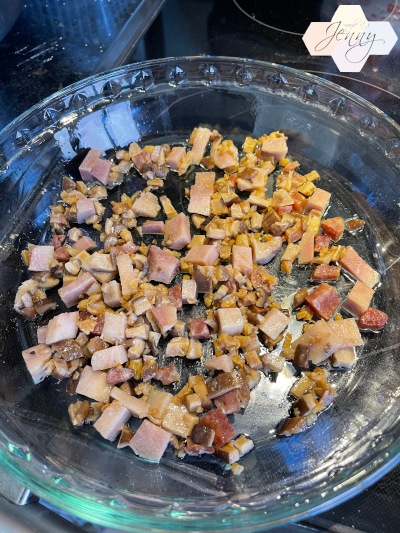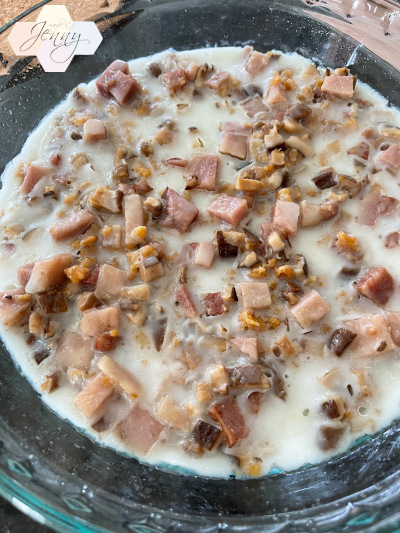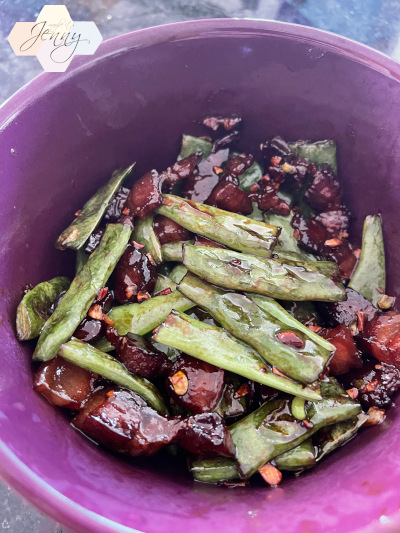
If you follow Jalna’s blog, you might remember this post about the cured pork strips they got. I remember eating this as a kid, it wasn’t an everyday dish. It’s pricey and also a bit of an indulgence since it’s got a lot of pork fat. It was such a coincidence that I had also bought a pack from Chinatown and it was sitting in my fridge waiting to be made.
I never made it before but remember the elements of it from my memory. I knew I wanted to make it with green beans but only with these flat ones. I don’t know why I had to be so specific with it. I didn’t have a real recipe to go off of, maybe what I had was more of a family dish. I blanched the beans fast kine and then stir fried the pork and beans together. I didn’t want to add too much seasoning because the pork is super flavorful (aka salty) so I added a dash of soy, oyster sauce and sugar. Oh I also started the stirfry with minced garlic. Look. It was damn delicious. I was trying to hold the dish on to last a few days. I ate it in one day. It was just that good. But it could be an acquired taste.

Another family dish I have been making on my own. Ong Choy! Crucial ingredient? Harm Haw. Gotta have that. I just fried up garlic and red chili pepper, add the shrimp paste and then add the stems first….cook for like 2 minutes and then add the leaves and cook down. I must have added some water to this too. I’m sure folks usually do a cornstarch slurry to make the gravy thick. I was lazy. Another vegetable dish I love.

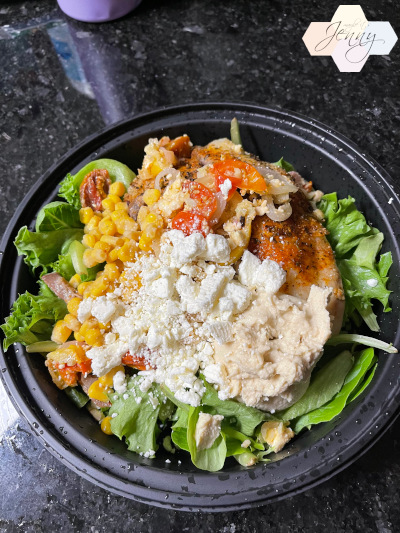
Smoked Chicken Pasta | $18.50
with onions, roasted tomatoes, garlic and fresh herbs, in a white wine and chicken stock, tossed over linguini
I got this dish the other week at Murphy’s, it was one of their specials. Eh. Was alright, I mean, I keep comparing the food to the price because how can I not? The chicken breast was good, super moist and there was a smoky taste so I enjoyed it. Wish there was a bit more pasta. I don’t get why restaurants like grinch out on the cheaper stuff. I think customers are easily fooled if they see more pasta haha. And I am adjusting to a new contact power and it’s hard to see up close now…if not, I would have noticed it said chicken stock. Yeah, it’s sitting in a chicken stock. I wasn’t expecting that. Yeah, I wouldn’t get this again.

Apple Crisp a la mode | $8.00
It’s okay, their apple crisp always comes to save the day. It saved the day. I loved it. Warmed apple crisp ala mode. You can’t go wrong. Have a great weekend everyone!