Happy August! Things are moving slowly but surely along…my kitchen has finally progressed and I just purchased a fridge from Lowe’s. Oh gosh, things were stagnant for so long that I almost no can believe I’m going to have a kitchen soon. Life has been busy busy busy and I’m too old to bounce back like I used to. I had to work an extra day last week for a training and I swear, I spent all week recovering. I woke up today at 7:14 am and felt ecstatic because that for me is sleeping in. It’s going to be a good day!
Anyhow, today I am sharing an awesome recipe with you folks. I got it from Foodland but I’ll post my slightly tweaked recipe. The bosc pears add a great crunch, moistness and sweetness to the beef patties. I’ve made it both in the meat jun style and the non-meat jun style and I must recommend the meat jun style. It just tastes so much better that way!
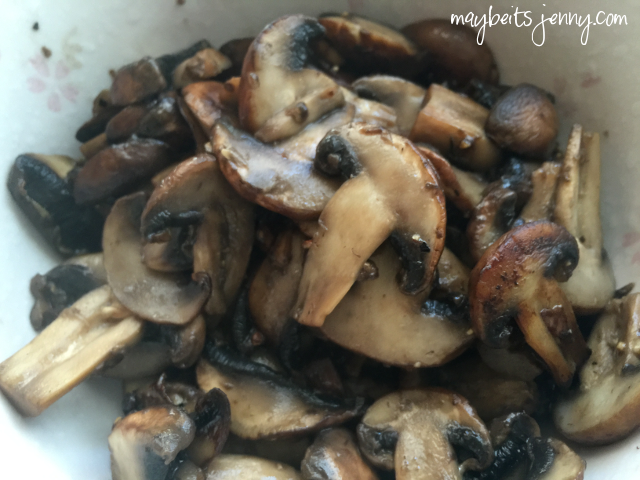
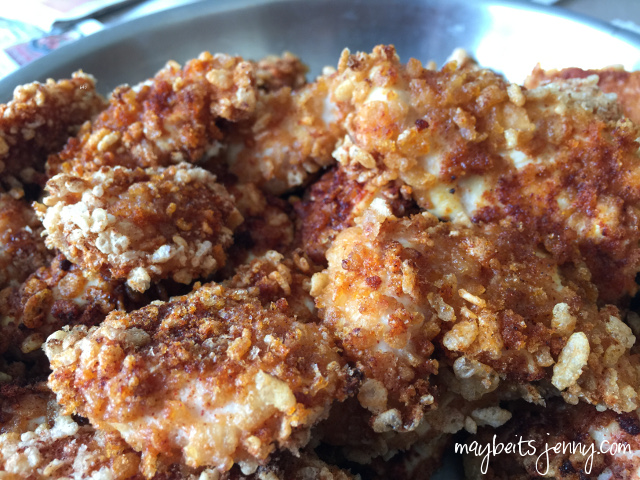
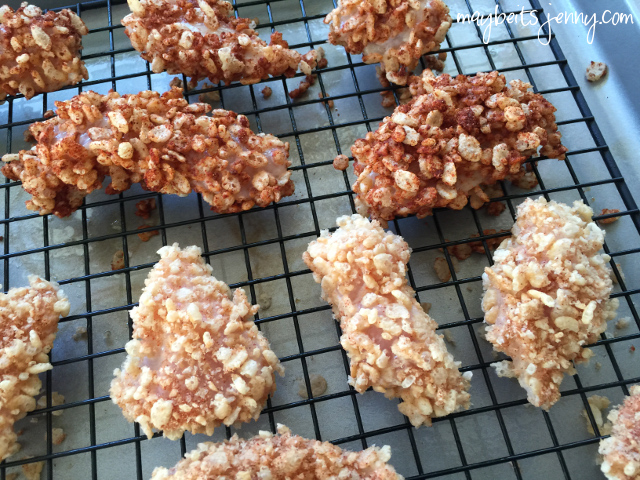
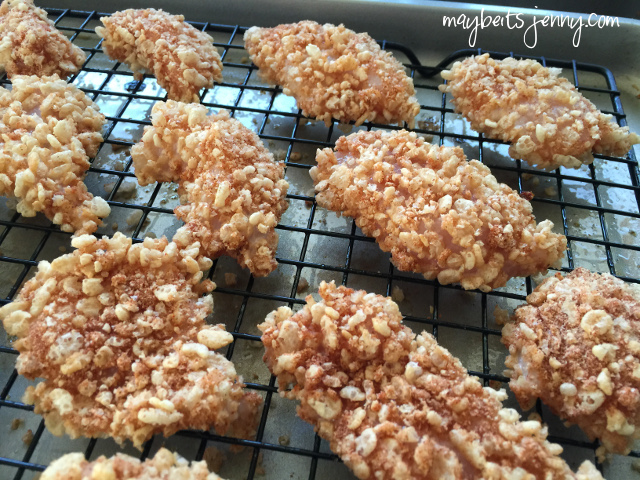
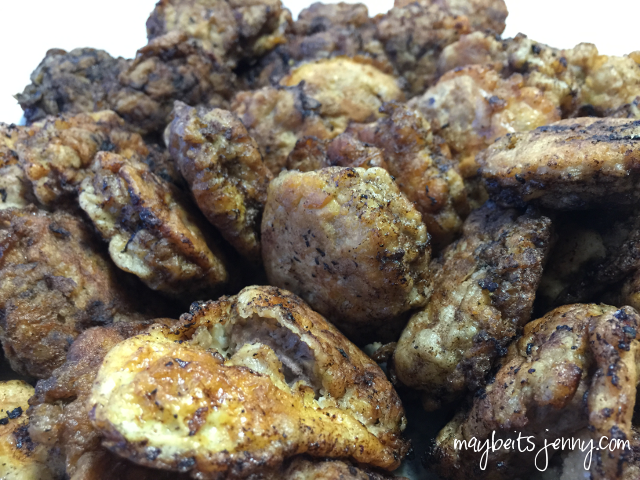
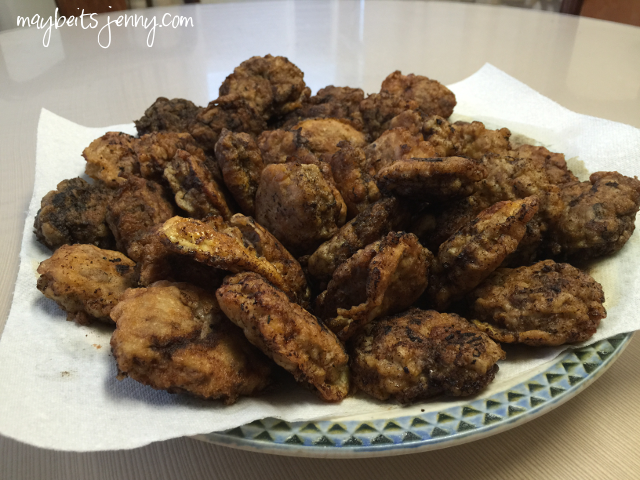 Here they are after cooking. Sorry some parts look a bit black, it’s not burnt but I made a huge batch and didn’t realize how black the oil gets and so quick!
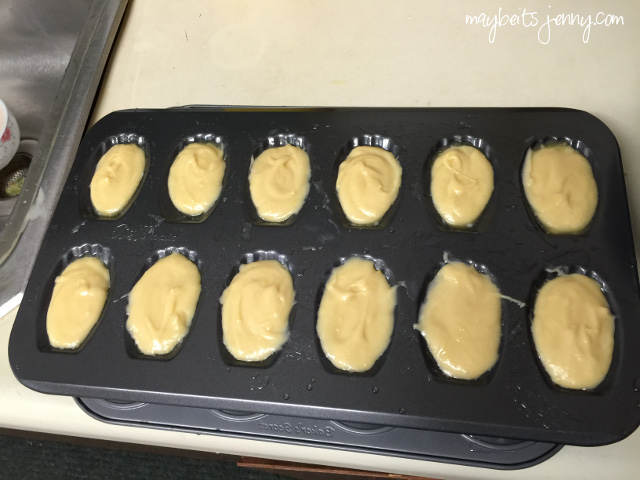
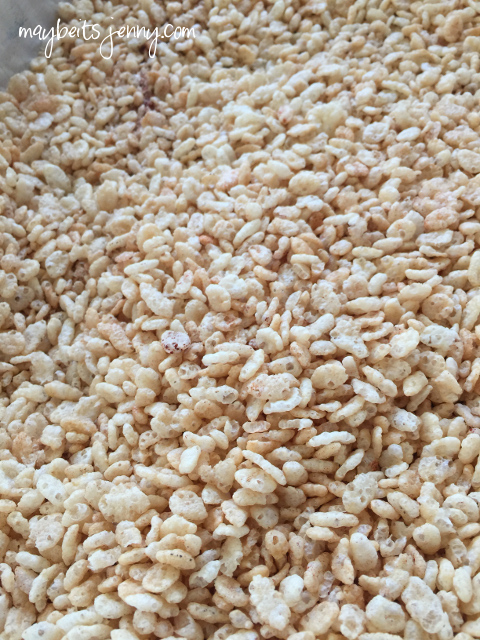
 Meat jun style is so easy! Quick flip in the flour and then…
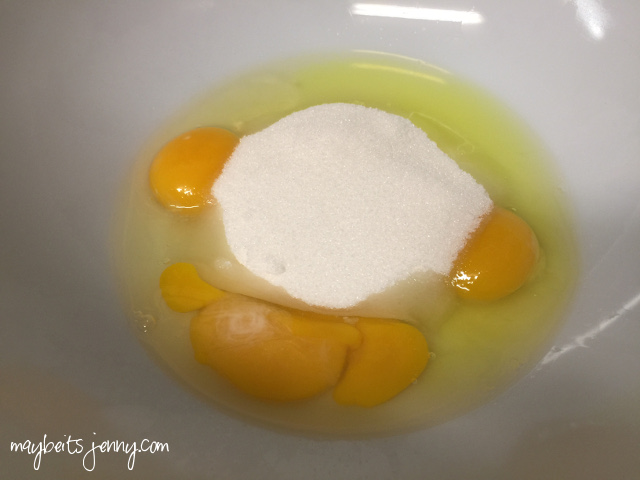
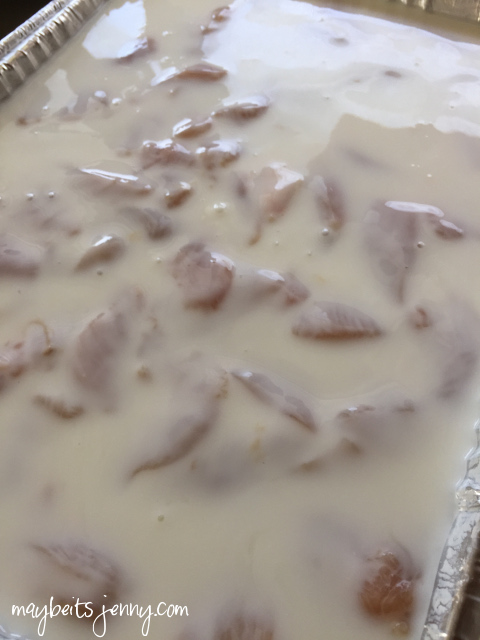
 Throw it into some beaten eggs (do not add water to the eggs) and off to the pan!
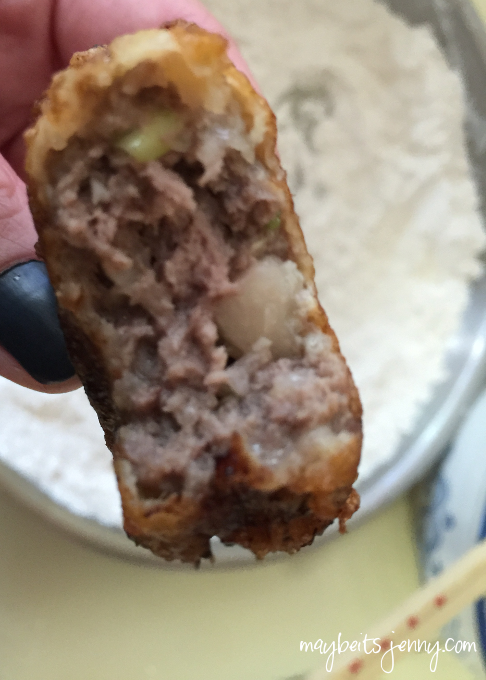 Hard to hold the camera and the beef patty straight…but look at this thing! Delicious! And no need dipping sauce.
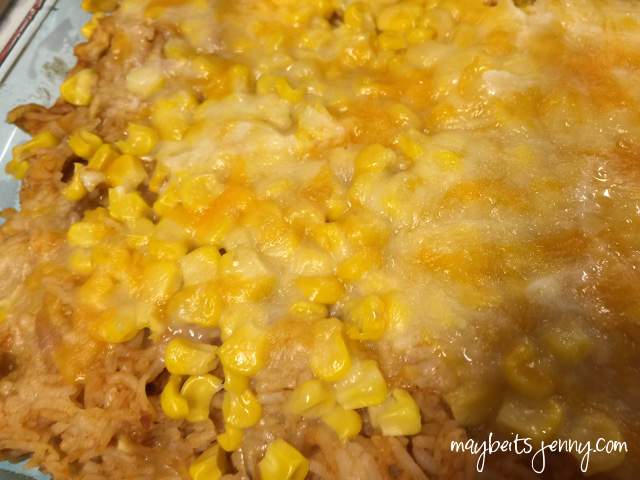
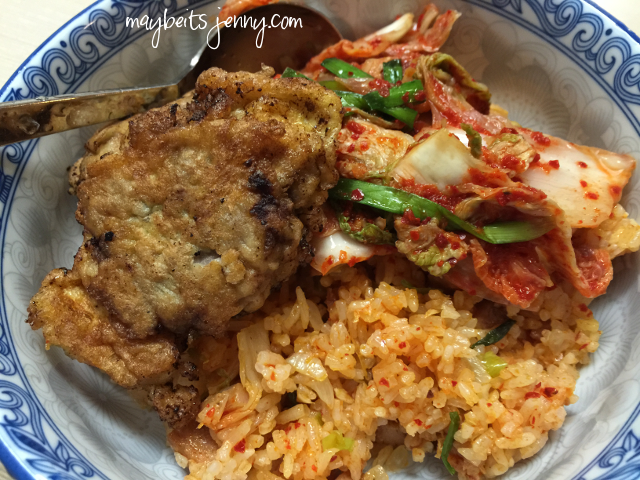 Had to include a picture of the patties on top of my famous kimchee fried rice. Who says it’s famous? Only me.
Mini Beef Ddukgalbi
Recipe Source: Foodland
Ingredients
1 Pound Ground Beef, 80/20 mix
2 Tablespoon shoyu
1 Tablespoon sugar
1 Tablespoon garlic, minced
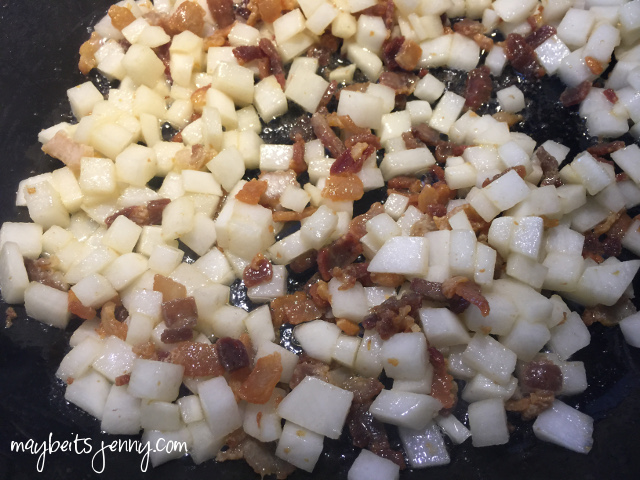
1⁄2 each Asian or bosc pear, minced (I don’t mince it too small because I like the small chunks when I bite in)
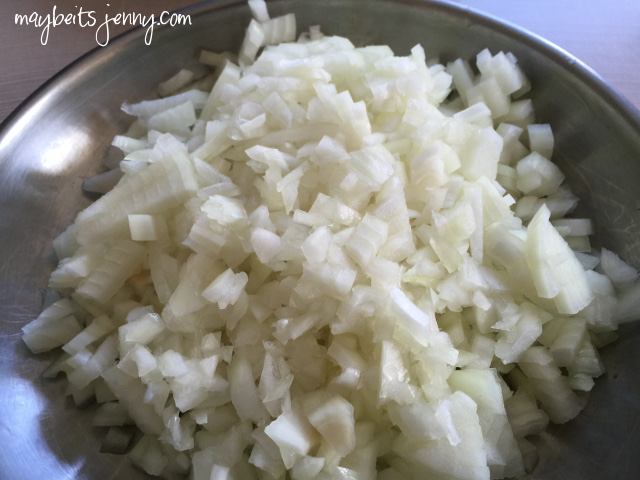
1⁄2 each small onion, minced
1 1⁄2 Teaspoon sesame oil
1 stalk green onion, sliced
1⁄4 Teaspoon Black Pepper
1 Teaspoon Salt
1 1⁄2 Teaspoon Korean rice wine or sake
1 1⁄2 Teaspoon toasted sesame seeds
Meat Jun Style:
1⁄4 Cup flour
2 each eggs, whisked
Canola oil as needed
Instructions:
In a mixing bowl, combine all the ingredients except the oil, flour and eggs. Allow to marinate for at least 30 minutes to allow the flavor to develop (overnight okay).
For the mixture into little 1 inch patties – recipe yields about 24 mini patties.
Heat a grill or a skillet to medium high heat. Add in a thin layer of oil and fry until done. Be careful to watch them as the sugar will make them prone to burning.
Meat Jun Variation: Take the patties and lightly dredge in flour and then dip into the whisked egg. Fry in a pan to make a meat jun version.
Serve with rice and assorted panchan (Korean sides like kimchee, pickled garlic, and cucumber.)
Note: This recipe is different from the Foodland one I linked above…use whichever one you want! 🙂
Post Views: 4,133
 Doesn’t this look yummy??
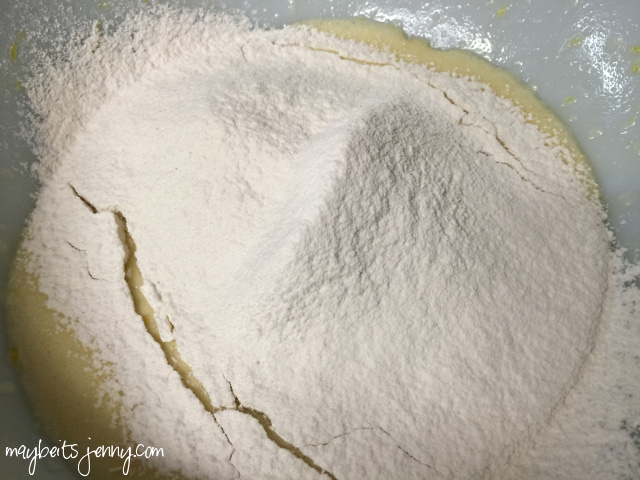
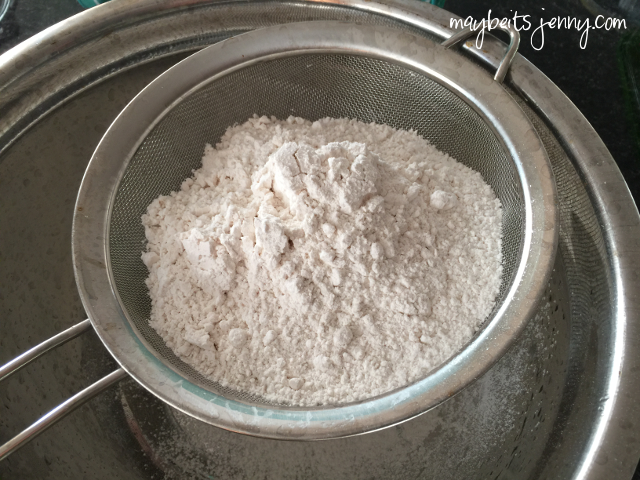 Cookies from scratch. I sifted all the ingredients together.
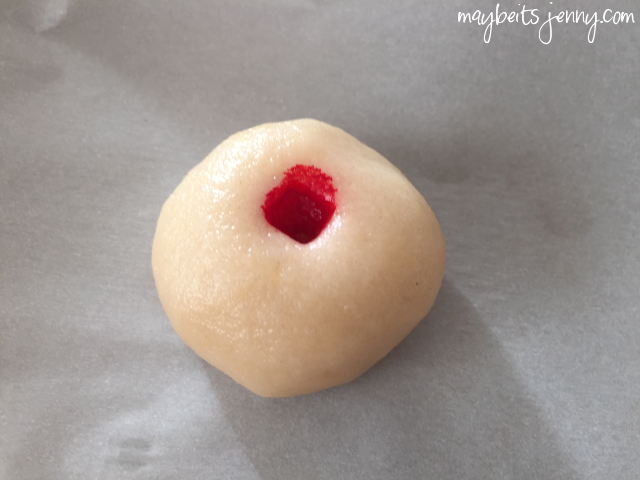 Wish I had round edges on my chopsticks, the red dot would have been more like a circle…
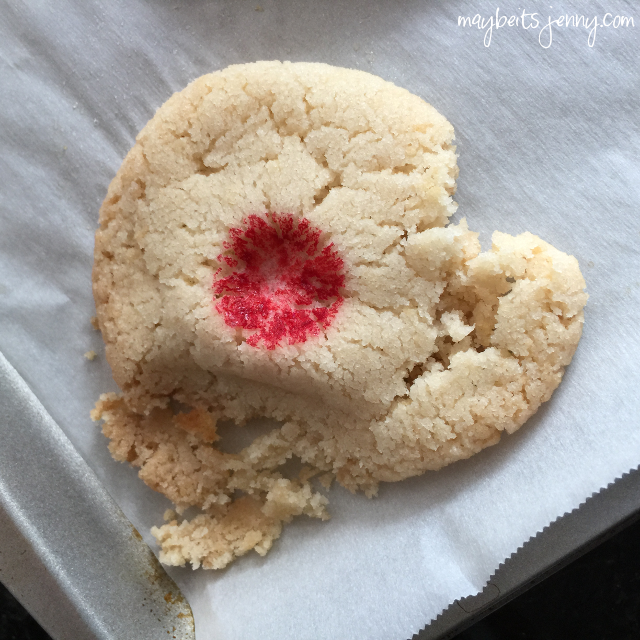 Here is how the cookie will look if you try to move it right after taking it out of the oven. You need to let the cookies cool on the pan for at least 5 minutes before you can move them. The cooling will allow the cookies to harden, fresh out of the oven will be too soft in texture.
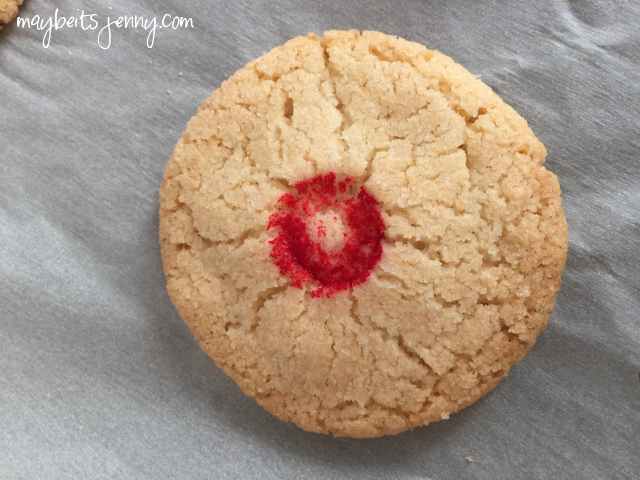 Perfect Almond Cookie!