I think I have mentioned this before, I have a vegan worker in my office and it has helped me to push my limits in cooking! I really enjoy feeding people and always try to make dishes that everyone can eat. Well, here is a recipe that was totally sparked through curiosity. I can make choke vegan baked goods but I wanted to serve up a savory dish. So I got the idea for this dip and served it up with crackers/ruffles chips.
How did it go? Surprisingly well, the office folks certainly ate it up. What did I think? Ehhh…I gotta say, I am not a fan of the “fake” bacon bits and to me, that taste overpowers in this dish. I think if I tinkered around with this recipe, I could find a dip I like. Minus the bacon bits…and minus the french onion soup mix. I know I know, that’s not selling this huh? I think the recipe for the sour cream is solid so that’s a good start. Heck, I even give you the recipe for two different vegan sour creams! See below…


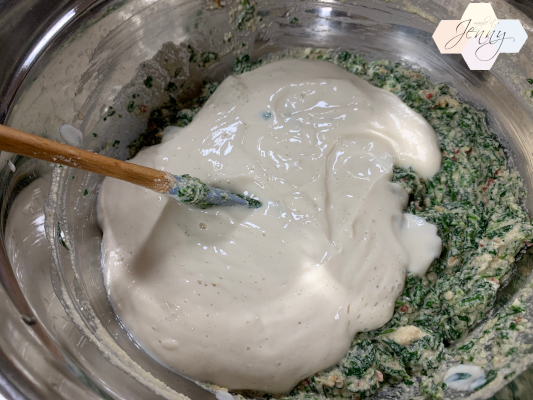
Then I got loopy because it was late at night and didn’t know what I would do with a whole thing of silken tofu sour cream and threw it in…oops

Which then led me to adding another soup packet since I had so much sour cream now…
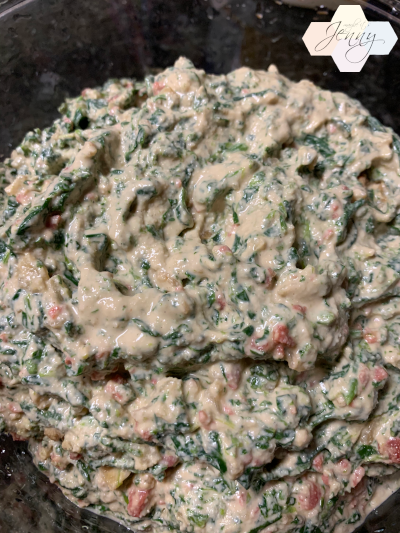
French Onion Bac’n Spinach Dip (Vegan!)
Ingredients:
32 oz. Vegan Sour Cream (Two recipe versions following this recipe)
1 C chopped spinach and squeezed (heaping cup).
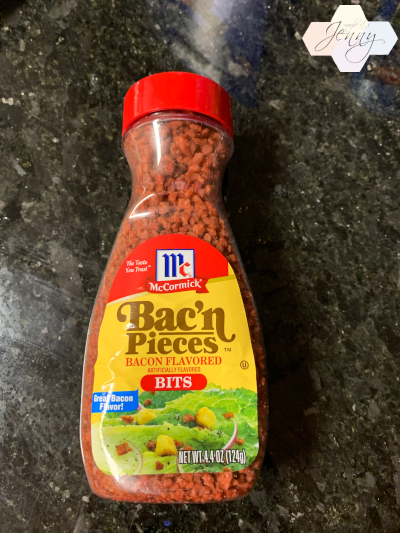
2.2 ounces McCormick Bac’n Bits (bottle sold is 4.4 ounces, I used half a bottle)
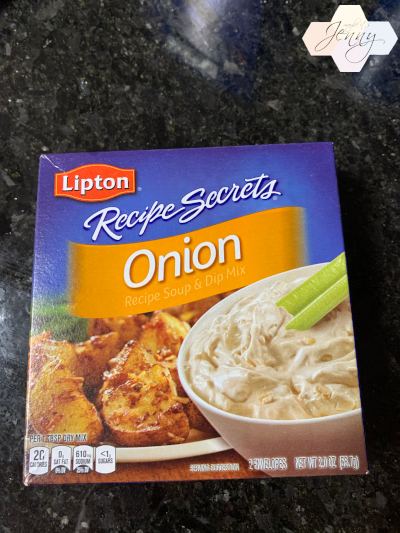
2 packets Lipton Recipe Secrets Soup & Dip Mix Onion (usually two packets come in a box)
Directions:
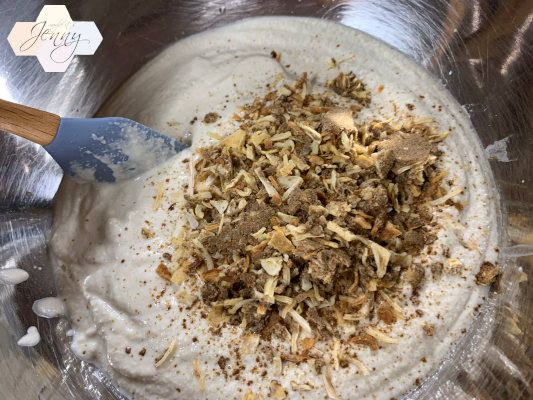
Mix the sour cream and soup mixes together until blended (by hand). Add spinach and bacon to mix. Best served chilled.
Notes:
- Spinach – I used fresh but one package of frozen chopped spinach would be fine. Thaw out the spinach and squeeze out additional water!
Vegan Sour Cream Recipe 1
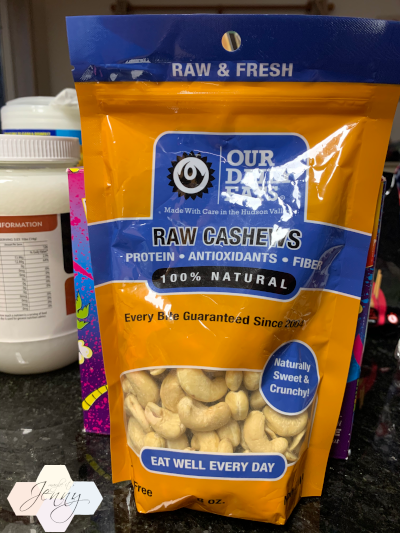
1.5 c raw cashews (soaked 4 hours)
3/4 c water
1.5 T lemon juice
1.5 t apple cider vinegar
1/2 t salt
1/2 t Dijon mustard
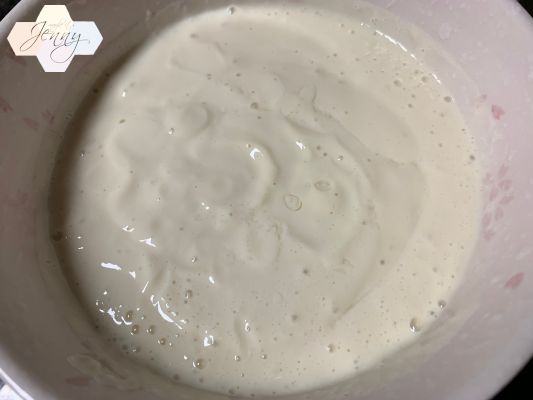
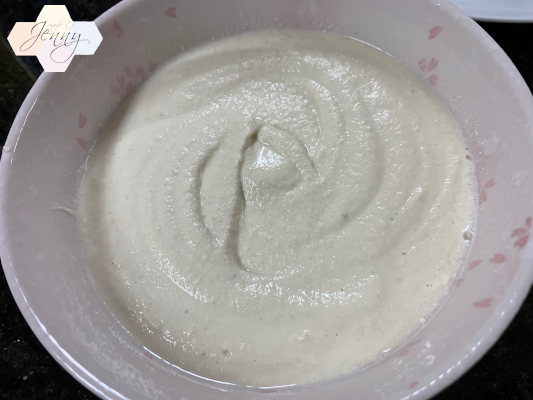
Blend all ingredients in blender until creamy, scraping down sides of blender as needed. Produced about 2 cups of sour cream (16 oz.)
Note: My taste preference is for the cashew sour cream.
Vegan Sour Cream Recipe 2
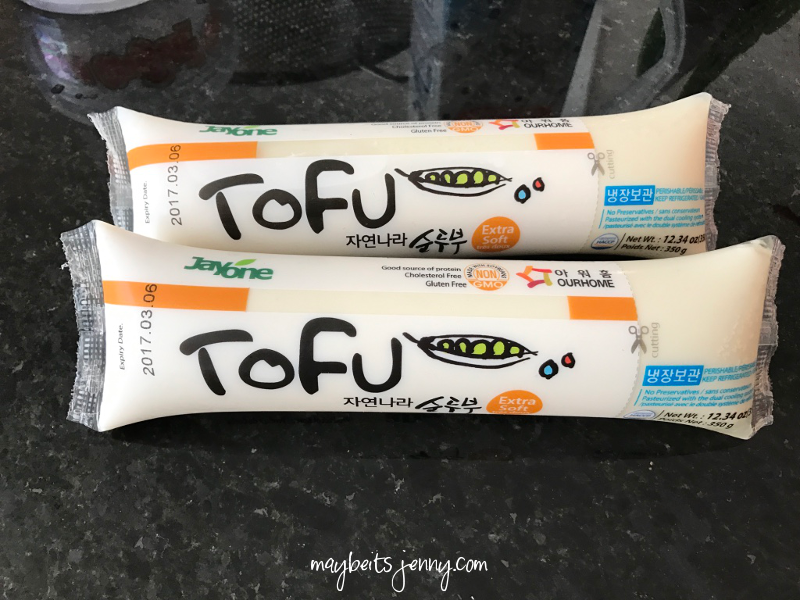
1 package 12 oz. Silken Tofu (soft)
1.5 Tbsp. lemon juice
1 Tbsp. red wine vinegar
1 clove garlic
1/2 tsp. sea salt
1-2 Tbsp. water to get to the desired consistency
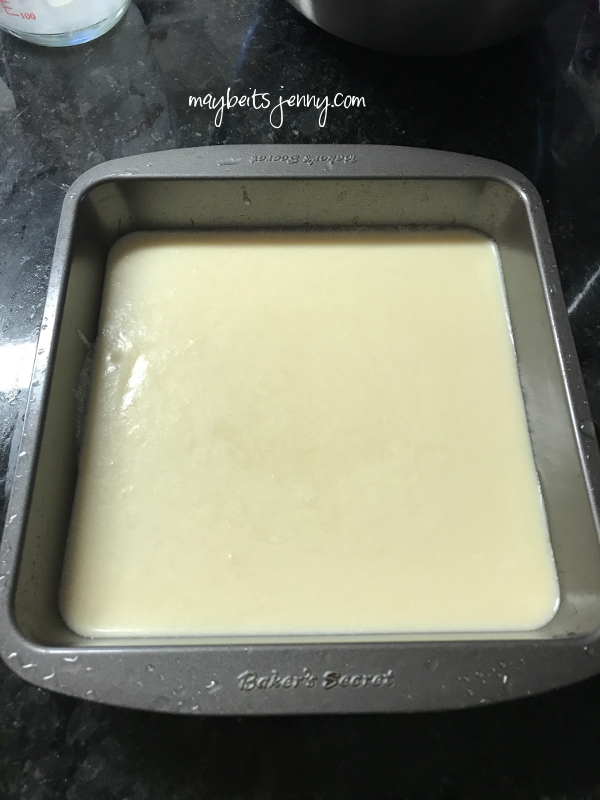
Blend all ingredients in blender until creamy, scraping down sides of blender as needed. Use in recipes such as Creamy Mushroom Stroganoff, or serve on baked potatoes, tacos, or enchiladas. Produced about 2 cups of sour cream (16 oz.)


