This Thai green chicken curry is one of my favorites! I hadn’t made it in a while so I busted out my old recipe book to make it. Very easy to make and super yummy if you like coconut milk. I’ll share pics and recipes below!
 Doesn’t look all that great but it is! I can smell the coconut milk and lime now…
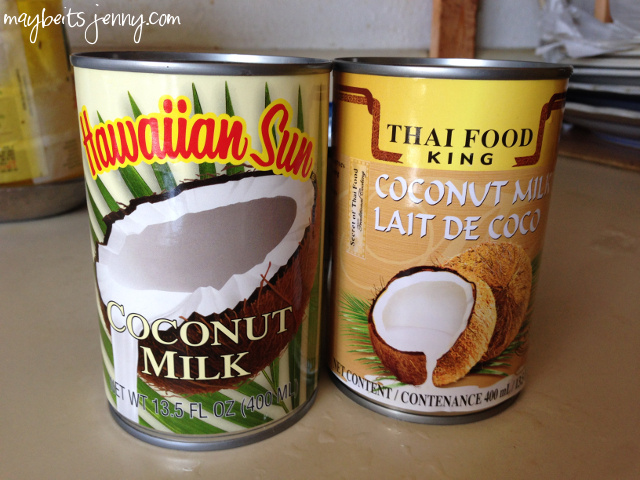 You only need 1.5 cups of coconut milk but I just used the full two cans – I’m pretty gangsta. By the way, the Hawaiian Sun brand coconut milk is much thicker than the right can. I prefer the Hawaiian Sun brand.
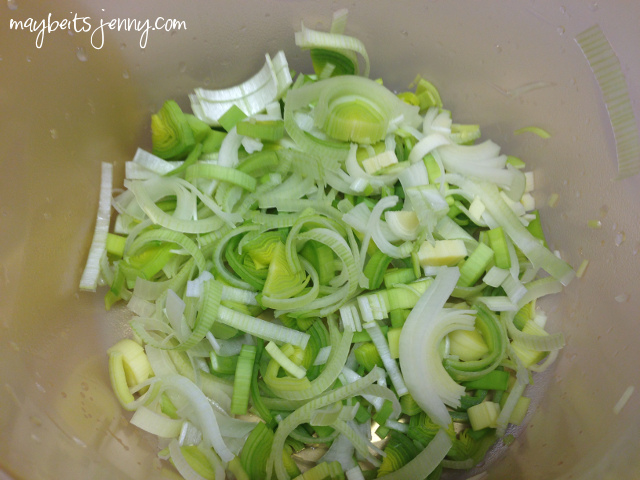
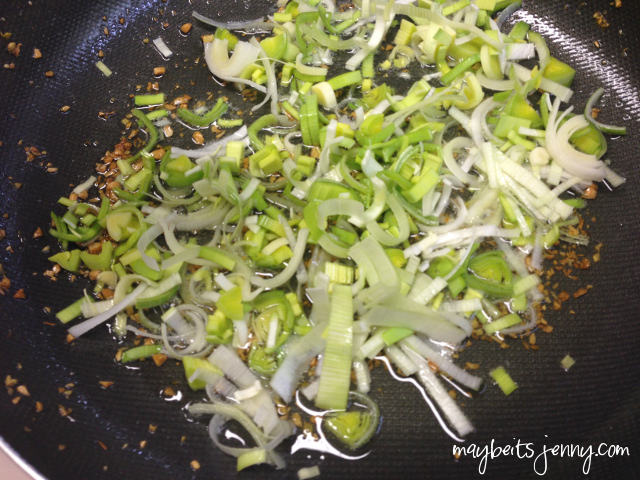
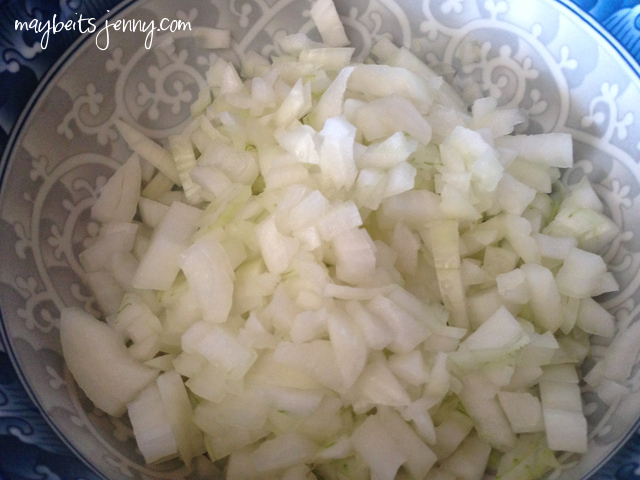 Chopped Onions
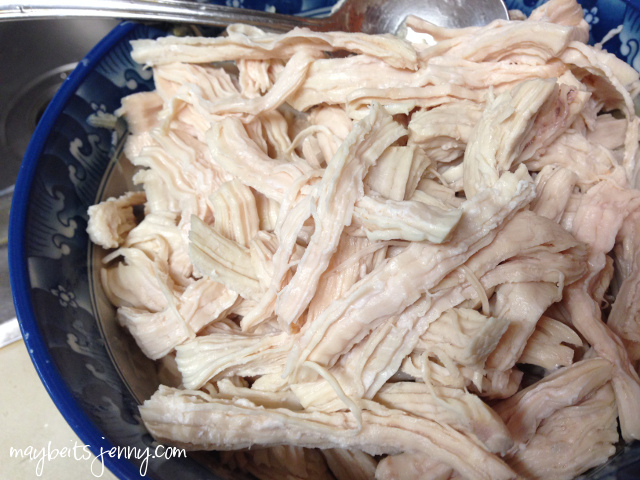
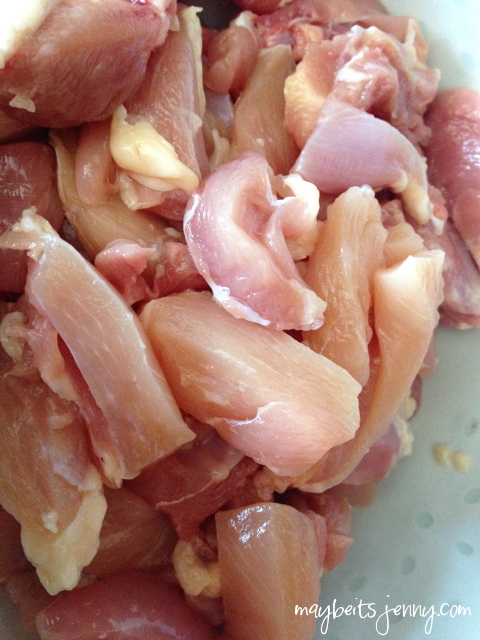 Sliced Chicken Thighs. If I wasn’t in a time crunch, I would have trimmed the fat a bit more.
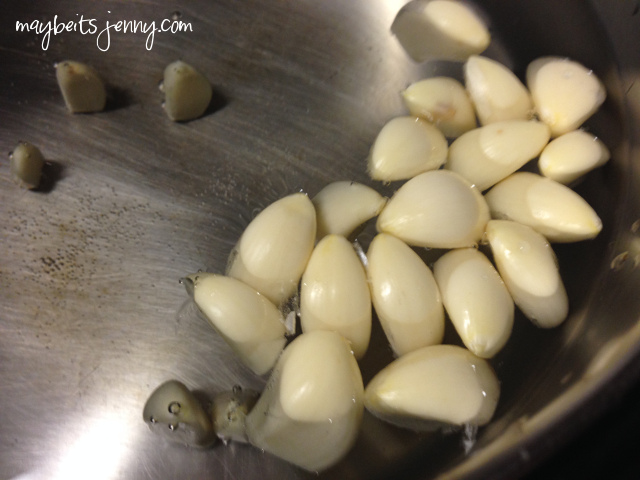
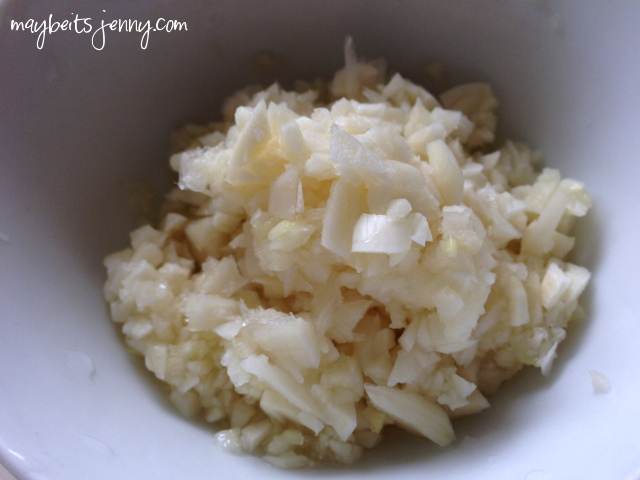
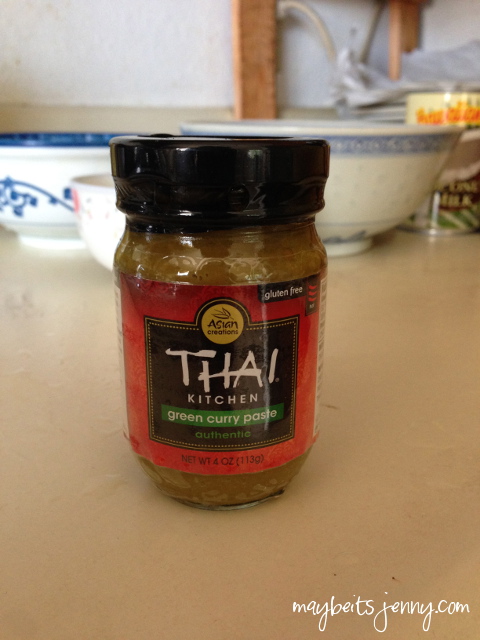 Green Curry Paste – definitely essential to make this green curry. Hehe…I found this at Foodland. I’ve found it at Safeway before too.
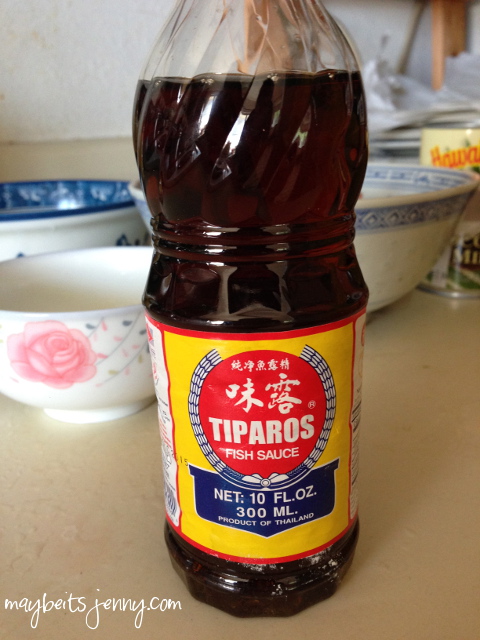 Fish Sauce. Also necessary, pungent but necessary.
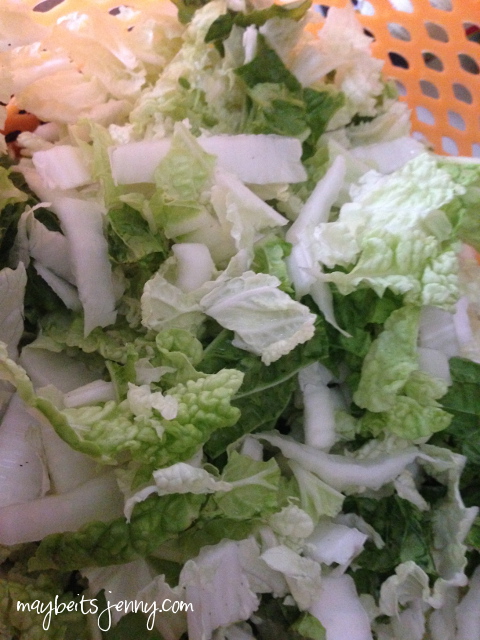
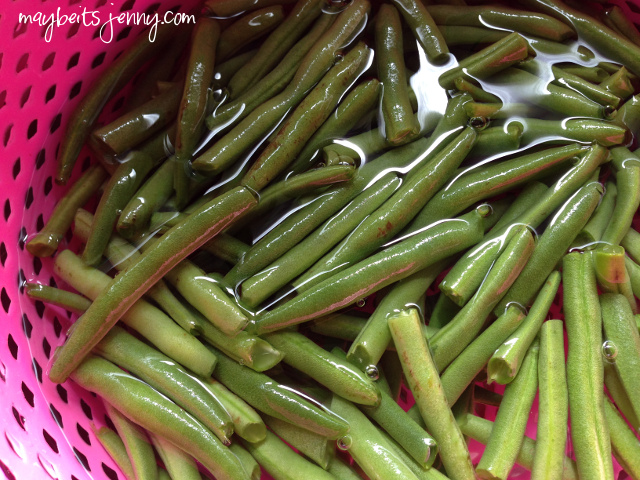 Green beans washed and broken into pieces, ready to add.
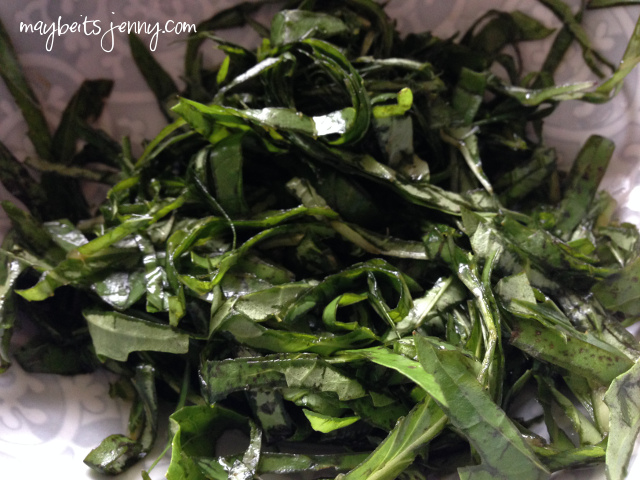
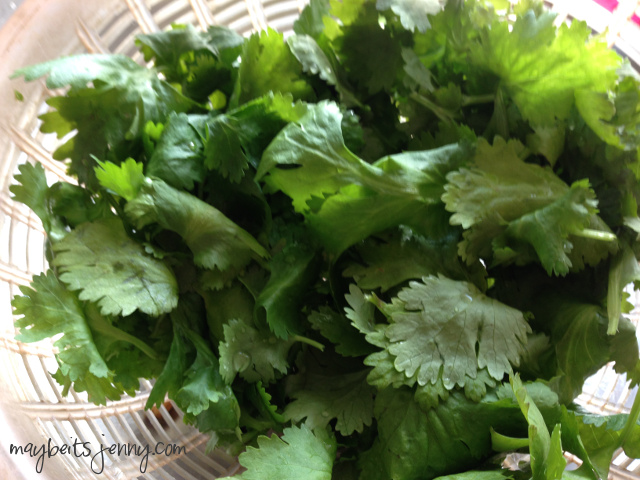 Cilantro. I guess this can be optional but for me, this cilantro makes a huge difference for the dish. You just top off your curry right before eating…yum!
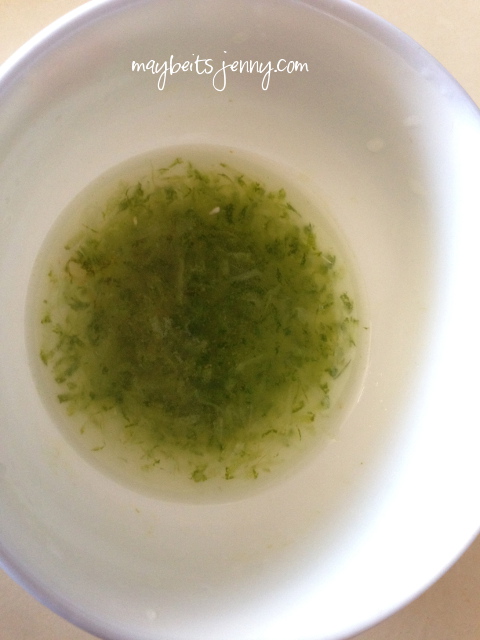
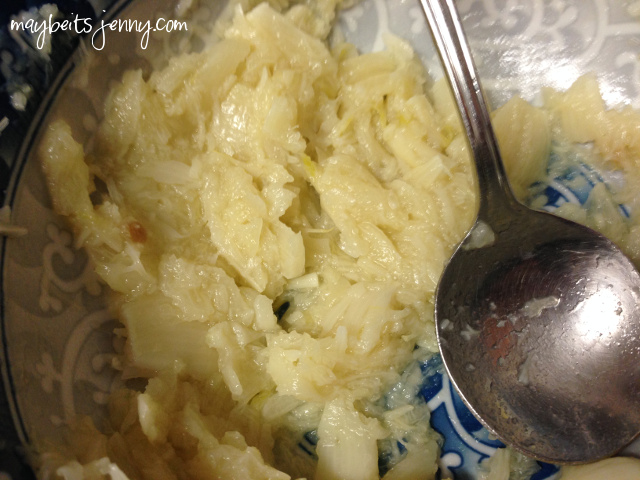
Lime juice and lime zest chilling, ready to flavor up the curry
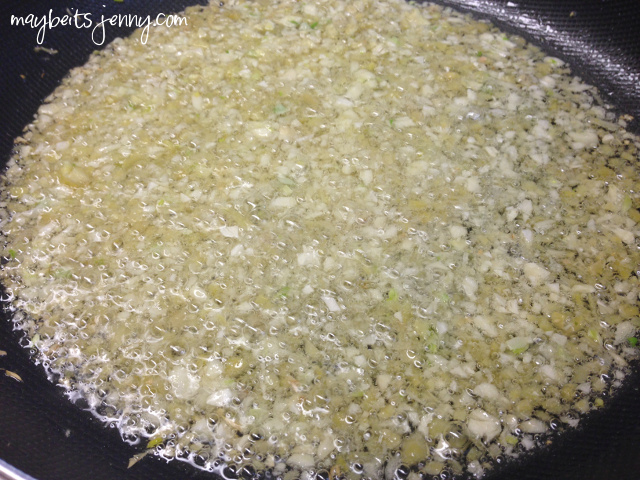
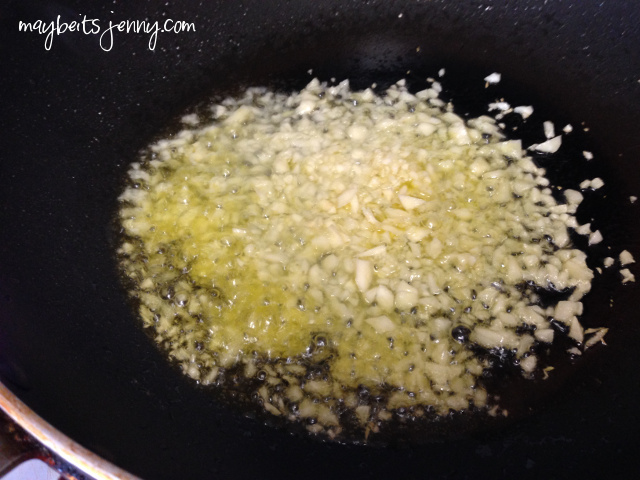
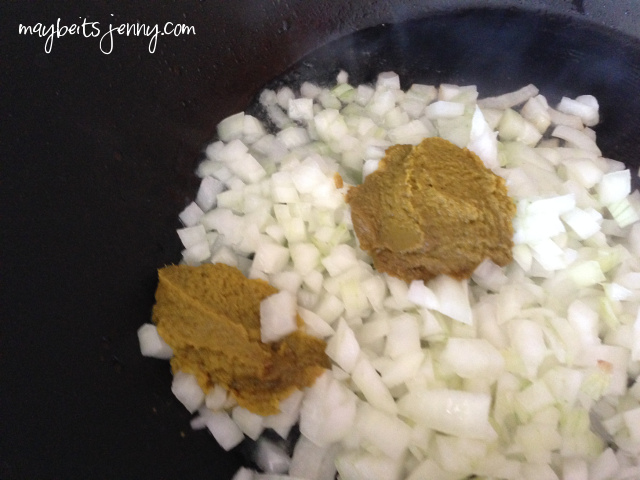 Sizzling onions with the green curry paste…
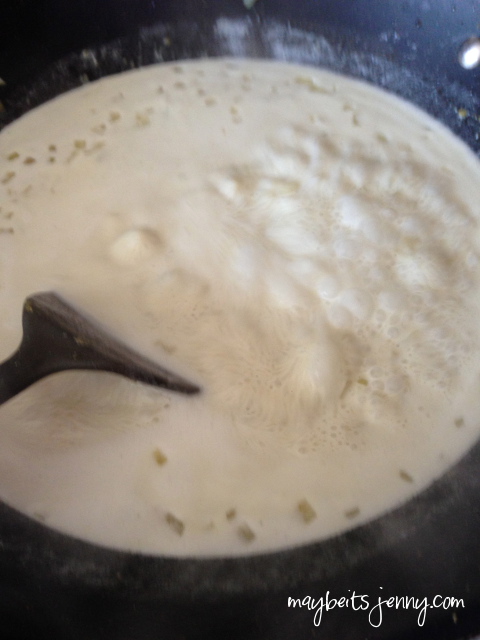 Wooo, coconut milk added. I also put a small amount of water into each coconut can and woosh around the excess and added it back into this.
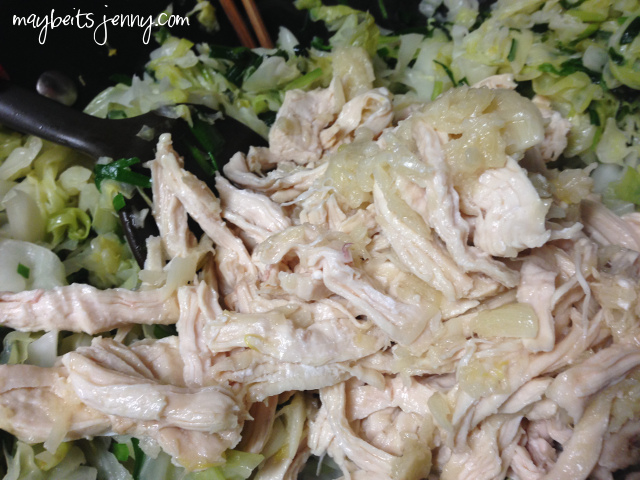
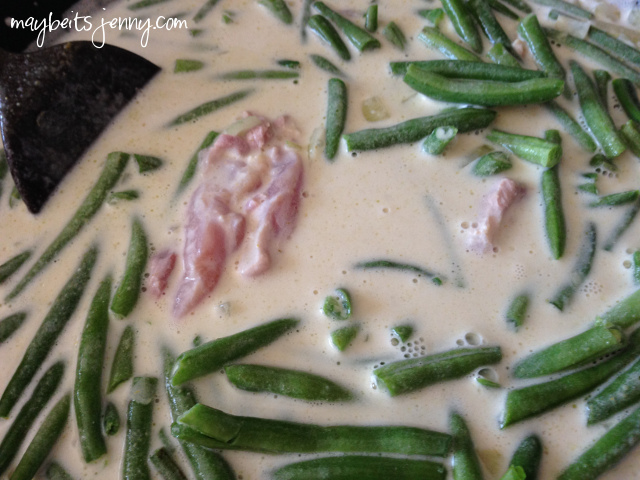 Chicken and beans added, ready to simmer
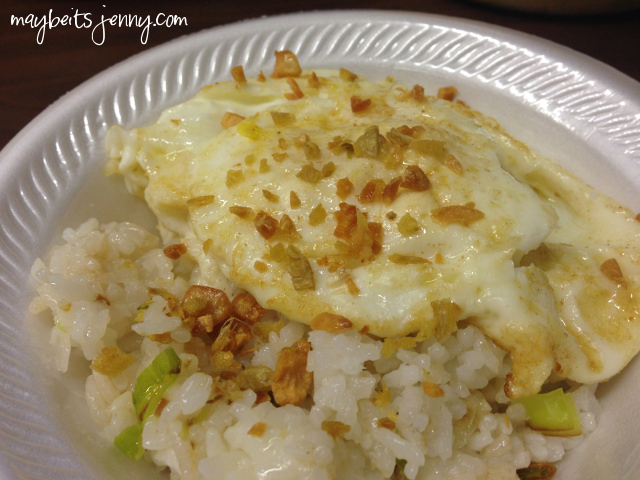
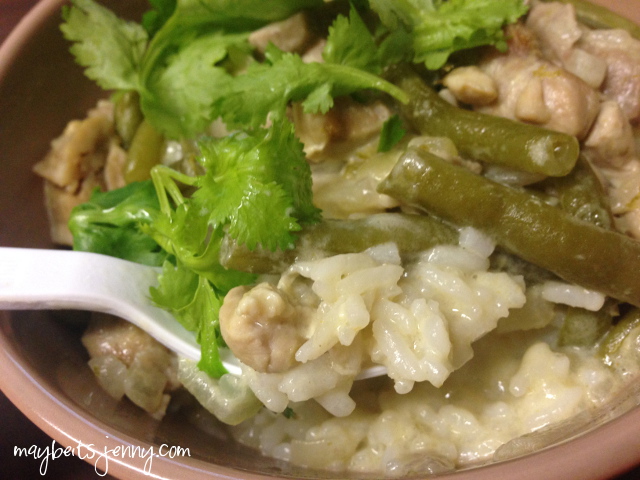
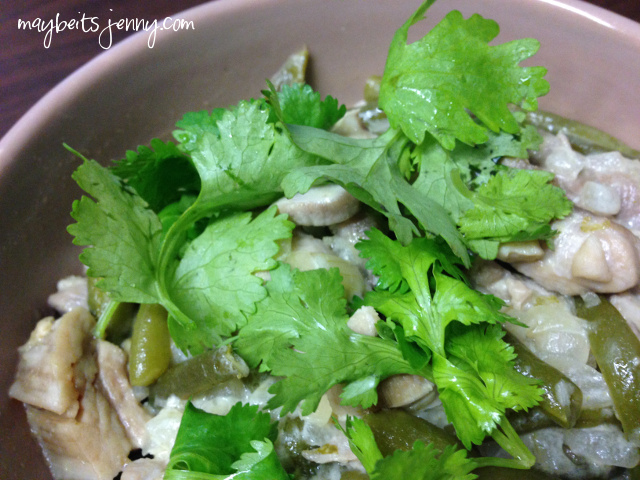 There you have it! A nice and hearty bowl of green chicken curry served on top of a bed of rice and topped with fresh cilantro leaves ready to be consumed. It’s so good. Give it a try!
Green Chicken Curry
Preparation time: 20 minutes
Total cooking time: 25 minutes
Serves 4
1 tablespoon oil
1 onion, chopped
1-2 tablespoons Green Curry Paste
1.5 cups coconut milk
1/2 cup of water (take the water and swish out the remaining cream in the coconut milk cans)
1 lb 2 oz. chicken thigh fillets, cut into bite-sized pieces
3/4 cup green beans, cut into short pieces
6 makrut (kaffir) lime leaves (these are hard to find for me so I don’t use them)
1 tablespoon fish sauce
1 tablespoon lime juice
1 teaspoon grated lime zest
2 teaspoons soft brown sugar
1 bunch of cilantro, cut the leaves for topping
1) Heat the oil in a wok or a heavy-based pan. Add onion and curry paste to the wok and cook for about 1 minute, stirring constantly. Add coconut mik and water to the wok. Bring the mixture to the boil.
2) Add the chicken pieces, beans, and makrut lime leaves to the wok; stir to combine. Simmer, uncovered, for 15-20 minutes or until the chicken is tender. Add the fish sauce, lime juice and zest, and brown sugar to wok; stir to combine. Sprinkle with fresh cilantro leaves just before serving. Serve with steamed rice.
Note: Chicken thigh fillets are sweet in flavor and a very good texture for curries. You can use breast fillets instead, if you prefer. Do not overcook fillets or they will be tough.
Credit: A really old Thai cookbook that is no longer printed…lol. Sorry!
Post Views: 7,485