You read that title right. Spam Musubi Rice Krispies Treat. What a genius idea! Mixing the saltiness of the spam with the sweetness of the marshmallows? It worked perfectly. And I’m not one that usually likes to mix sweet with savory. Decided to make this on a whim and shared it with the office. They ate it up! Although, I do wonder how long this lasts on the counter due to the spam. I guess I would just throw it in the fridge if there is any left after a day. I almost marinated the spam in a teriyaki sauce since that’s what I do for real spam musubis but decided against it which was a good thing. I think that would have made the spam sweeter which would work against this dish.
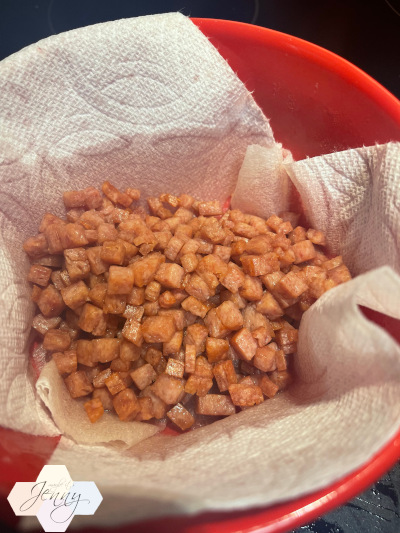
Fried up half a can of spam, diced up small! I fried them up until they were nice and crispy.

Half a stick of BUTTAH. No, I didn’t wash my pan after the spam frying. No worry beef curry.

Full bag of marshmallows – IN!

Once the marshmallow is nice and melted, add in the 6 cups of rice krispies!

Can’t forget to add spam to this party.

Furikake!
I wasn’t sure how much furikake to add. I didn’t want it to overpower the dish. I do think I want to add a bit more next time while also sprinkling a bit more on top!
Spam Musubi Rice Krispies Treat
Ingredients:
1/2 can of spam, small diced
6 cups of Rice Krispies or puffed rice cereal
4 tbsp unsalted butter
1 bag of large Jett Puff marshmallows (12oz)
Furikake to taste
Directions:
- Small dice half the can of spam. Add the spam dices to a pan and cook for about 15 minutes until they’re crispy! Strain on a paper towel and cool.
- Melt the butter in a pot over low heat. Add the marshmallows and stir until fully melted
- In a separate bowl, add the cereal and spam bits. Pour in the marshmallow mixture and mix.
- Pour into a greased baking pan – spray the bottom of a measuring cup and use that to press down. Top with furikake or leave as is! You can also shape them into cute onigiri if you’d like too!
- Let cool and enjoy!
Recipe Credit: Tabemanda