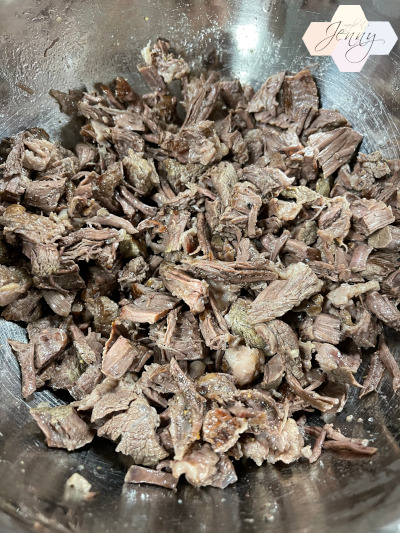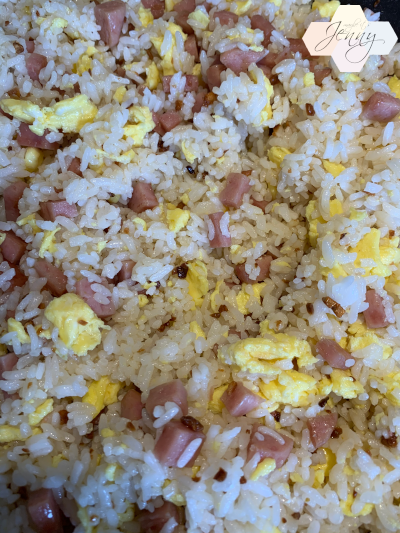
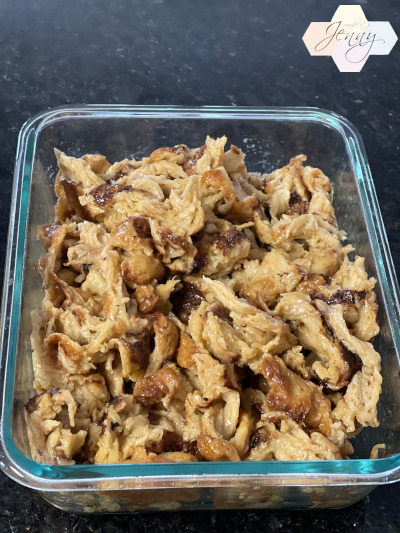
Have you folks ever heard of Seitan? It’s basically gluten and has been used to create the meat alternative in many dishes. My familiarity with it stems from small kid days through Jai. I think gluten has always been my favorite component of jai, I just never knew what it was and always assumed it was a form of tofu. Well there was a very short lived trend on TikTok the other week where people were making seitan out of flour, water and a few spices. I was intrigued. It’s an interesting process, you first mix flour and enough water to form a dough. Let it sit…then rinse the dough ball. You are literally washing away all the flour and what you’re left with is just the gluten. In the end, you end up with these lumps of gluten that you can shred apart that looks like shredded chicken! Do you agree? Peep the picture above.

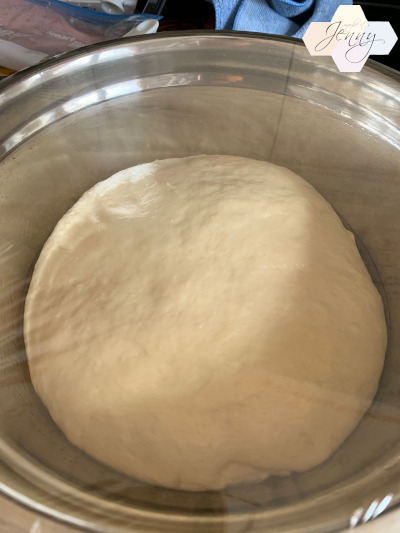
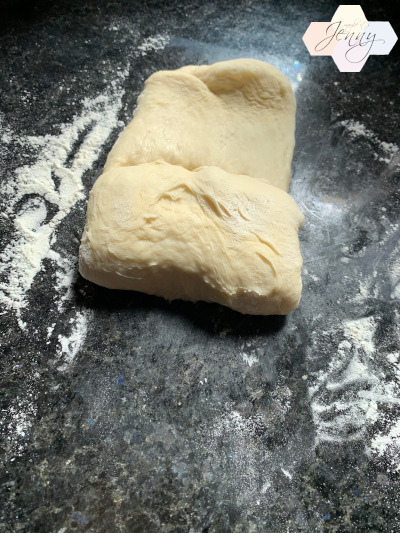
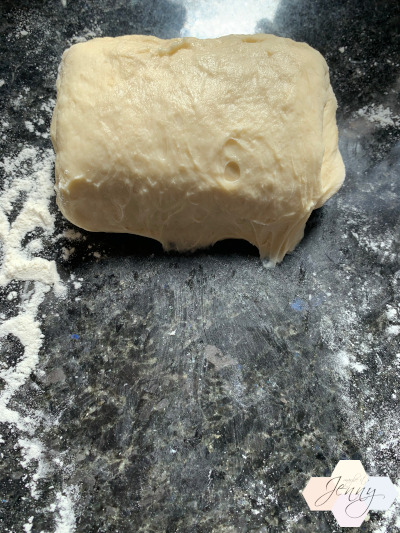
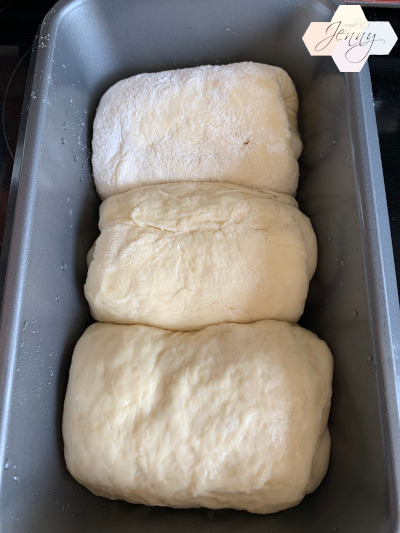
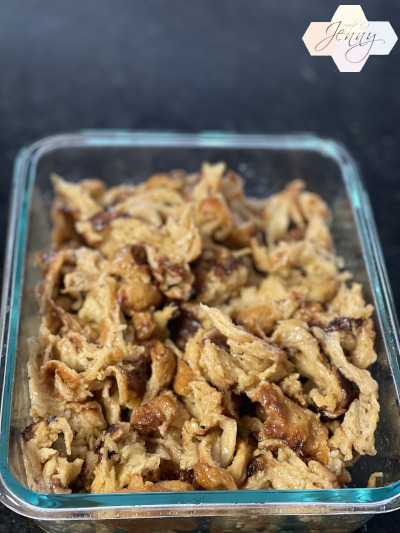
This is the big ball of dough I had after I washed it in water. It’s just so interesting!

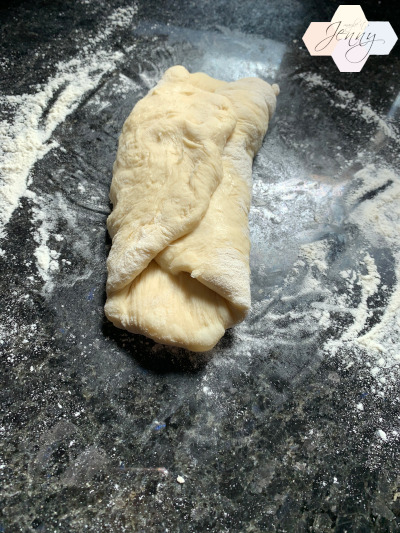
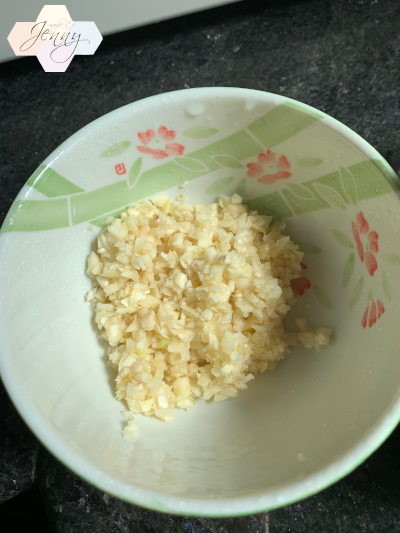
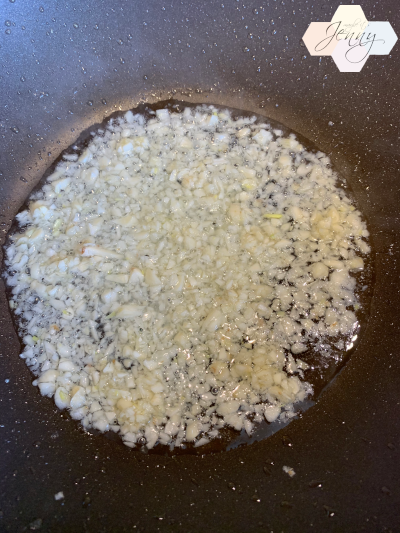
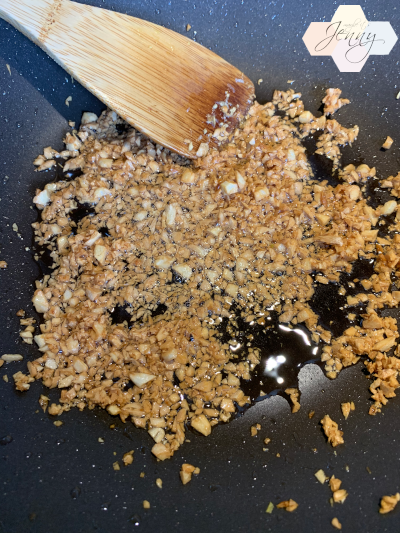
I think I added salt, pepper, garlic powder, onion powder, paprika…I think that’s it.

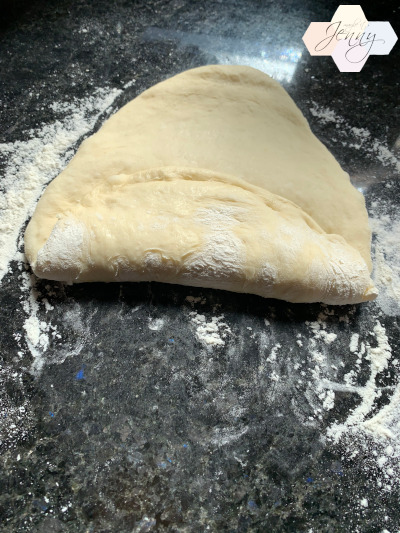
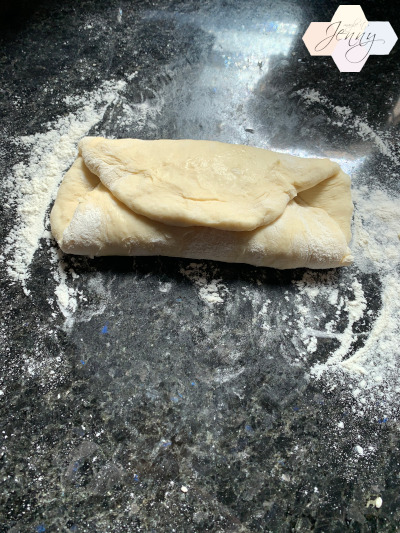
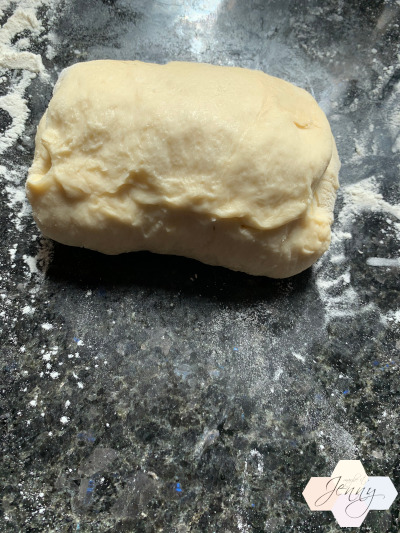
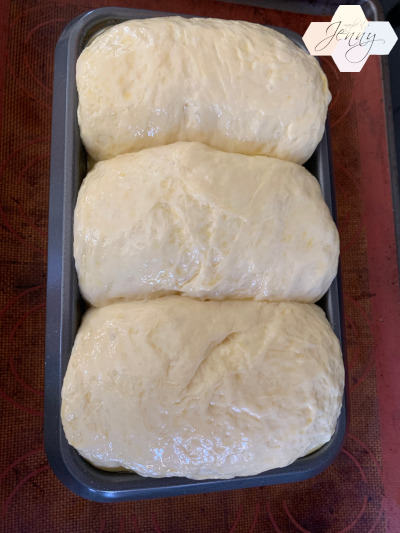
Gotta let it rest again after adding the seasoning.

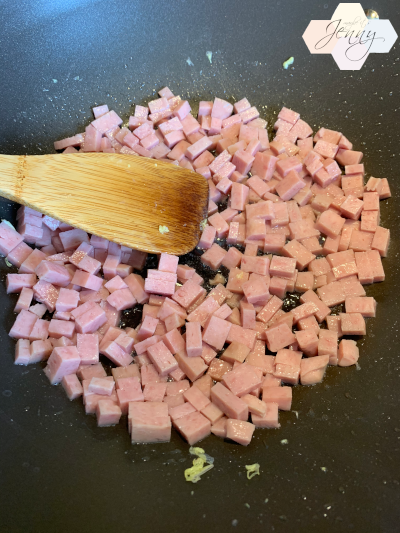
I separated the big ball into smaller chunks that I tied into knots and pan fried…
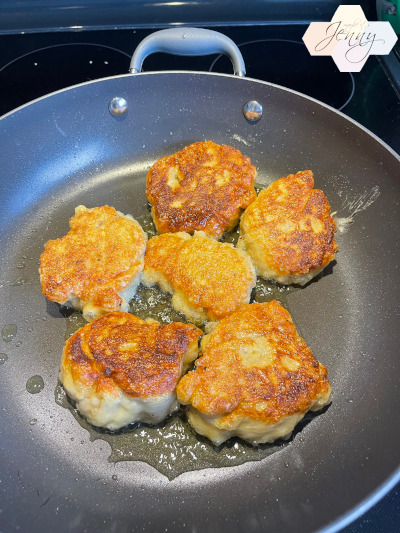
Ooh look at that color…
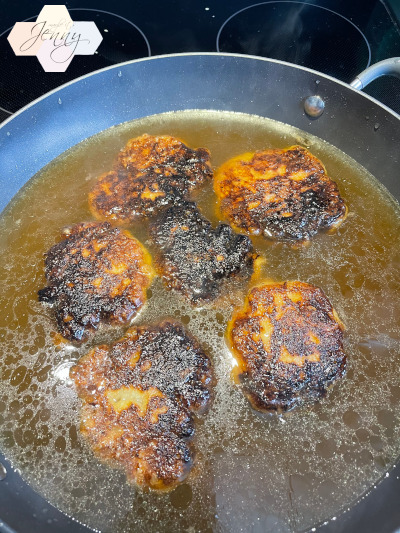
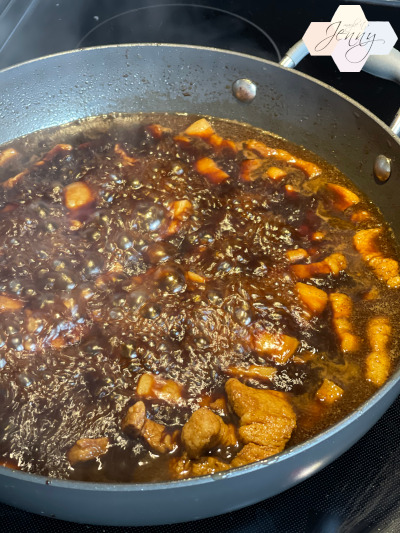
Oops, think I got a bit too much color on this side. This is after both sides are browned, you add the broth of your choice and braise them…
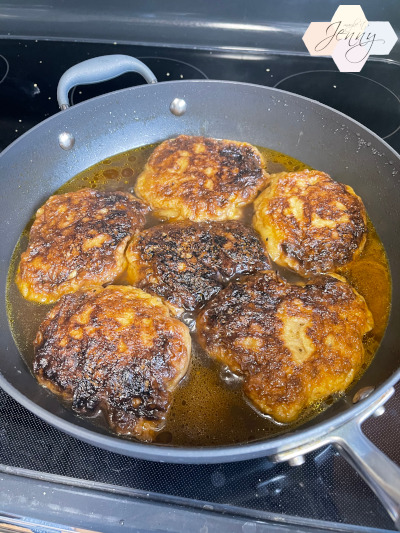
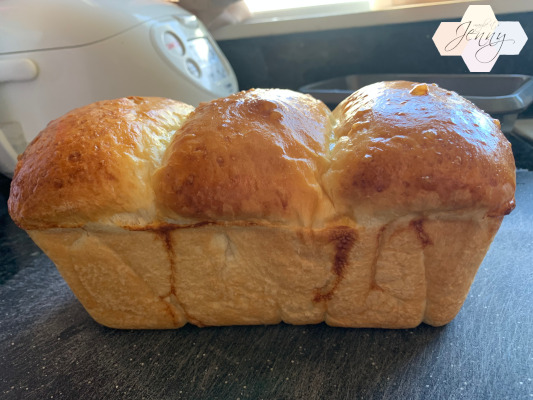
After braising, check out how big they get!
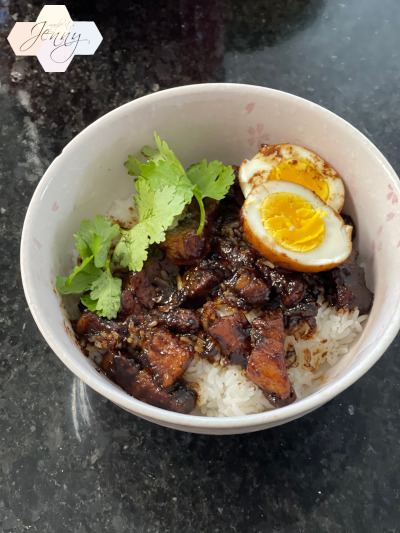
Looks pretty “meaty” yeah? Tastes pretty good too! I think it can definitely be used as a good meat substitute.
Jenny’s Seitan
2 lb organic bread flour (found at Whole Foods) or 5.5 C of bread flour
2 C of water (I actually used 2.5 C and it was too much)
Salt
Pepper
Garlic Powder
Smoked Paprika
6 C of Broth (Veggie, Beef, Chicken, whatever you prefer)
Instructions:
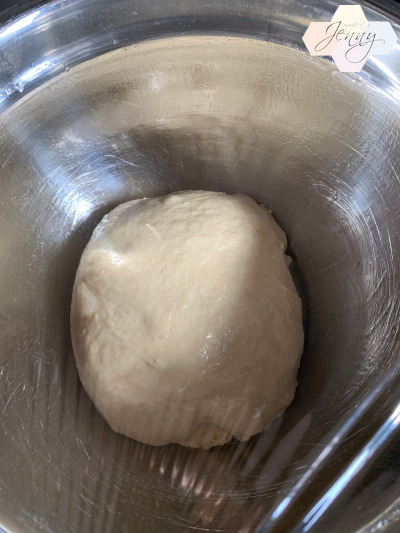
Mix flour and water until it forms a dough. Let sit under a towel for an hour.
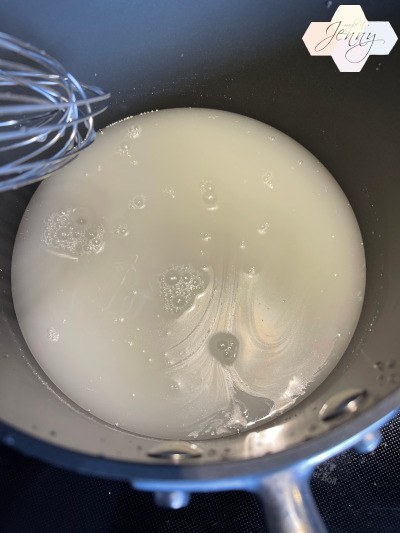
Rinse dough under water and knead until water becomes a light rice water color.
Added 7 cranks each of salt and pepper, and then 1 T each of garlic powder and smoked paprika. Knead seasoning into gluten and rest for another hour (no towel needed).
Separate into smaller balls, I knotted each ball to help create more texture. I pan fried the dough balls to get some color and then added about 6 cups of vegetable broth and brought it to a boil. I then lowered the heat to a low simmer and continued to braise for an hour.
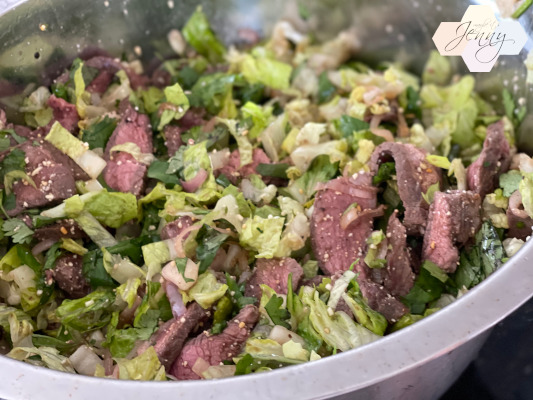
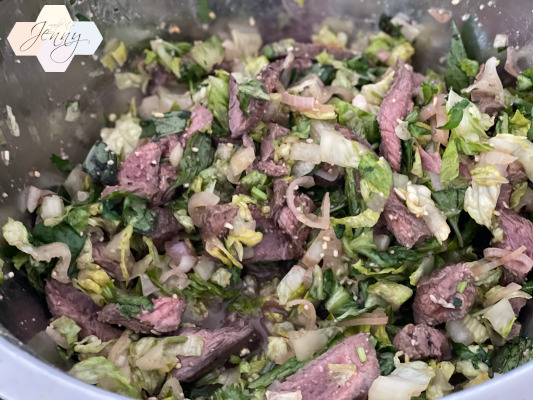
Remove from heat and let it cool, you can slice the seitan or shred like I did!